
I’m pretty sure I saw something sort of like this on Pinterest. I know I saw metallic spray painted letters on Pinterest but this I’m not so sure. Anyway, I bought two sets of alphabet magnets from the dollar store and decided I was going to make them DIY’d and beautiful for the fridge in my college townhouse this year! These are perfect for mini fridges in dorms, actual regular sized fridges and just about anything magnetic. They are really easy to customize and change up the colors! So, ladies (and very few gents), here are how to make these DIY alphabet magnets. There are also a ton of tips and things not to do sprinkled throughout! 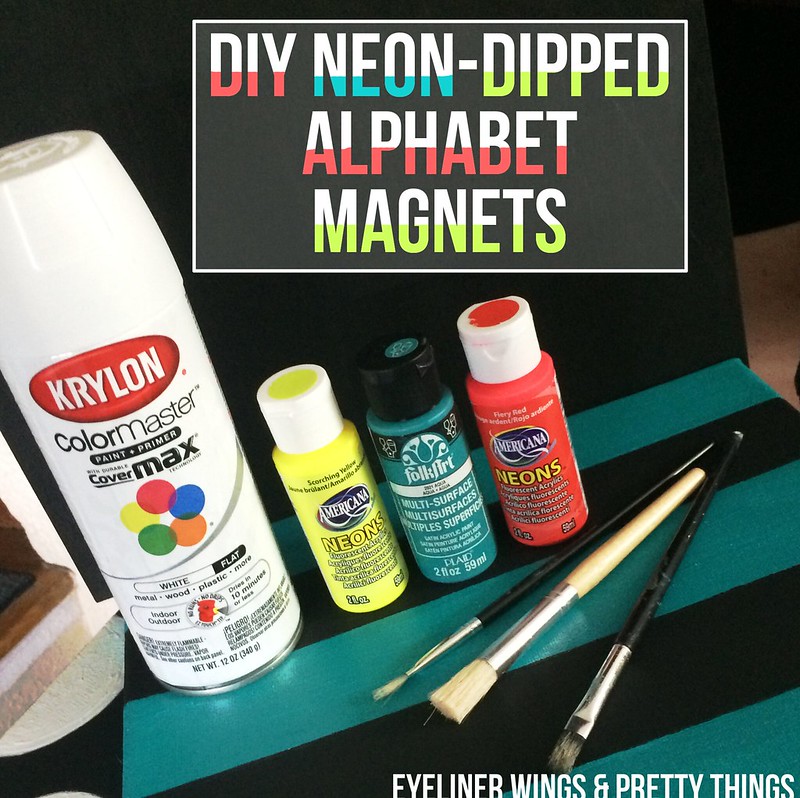
Materials Needed:
– 3 Colors of Neon Acrylic Paint
– I used Folk Art Multi-Surface in Aqua and Americana NEONS in Fiery Red and Scorching Yellow
– Matte White Spray Paint &/or White Acrylic Paint (I ended up using both, will explain later)
– Paintbrushes
– Something to lean on while you spray paint (I used an old wooden board from a desk)
– Alphabet magnets (These can be found in dollar stores or online)
– Spray-on Clear Glaze (I did not have this so I substituted with clear nail polish top coat…oops)
What To Do:
Before you start, make sure you do all of your spray painting outdoors and try to wear a mask or something. I inhaled so much paint and it was disgusting. Also, be very careful when painting. Do not get paint on the magnetic pieces. Namely, don’t paint the backs of the magnets. My magnets were rather cheap so even the smallest bit of paint on the magnet part would’ve led to them not being able to hold themselves up. Anyway.
Also, in theory, I should have taken some before pictures. They were just plain ol’ green, orange and blue alphabet magnets, in case you were wondering.
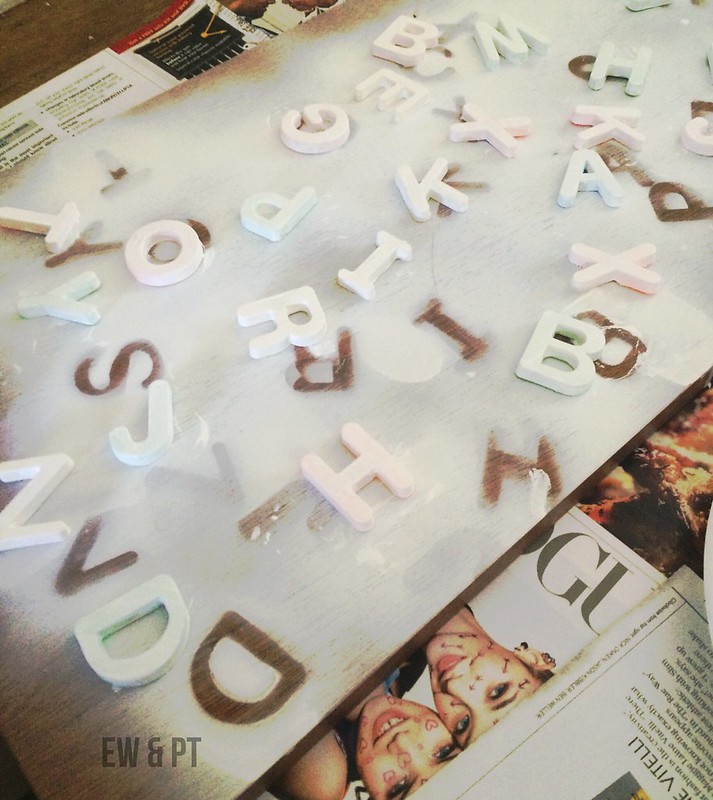
1. Paint your magnets white.
This was not easy because the magnets kept moving because they’re super light and it was very difficult to get the little crevices of the letters white. I ended up doing a rough coat of white spray paint and then touching up with regular white acrylic paint on a brush. The spray paint gave me a nice, matte surface for the white paint to go on. Get them as opaque as you possibly can–it might take a few touch ups or even two coats of white. LET THIS DRY. It probably won’t take long–mine took only an hour and a half. 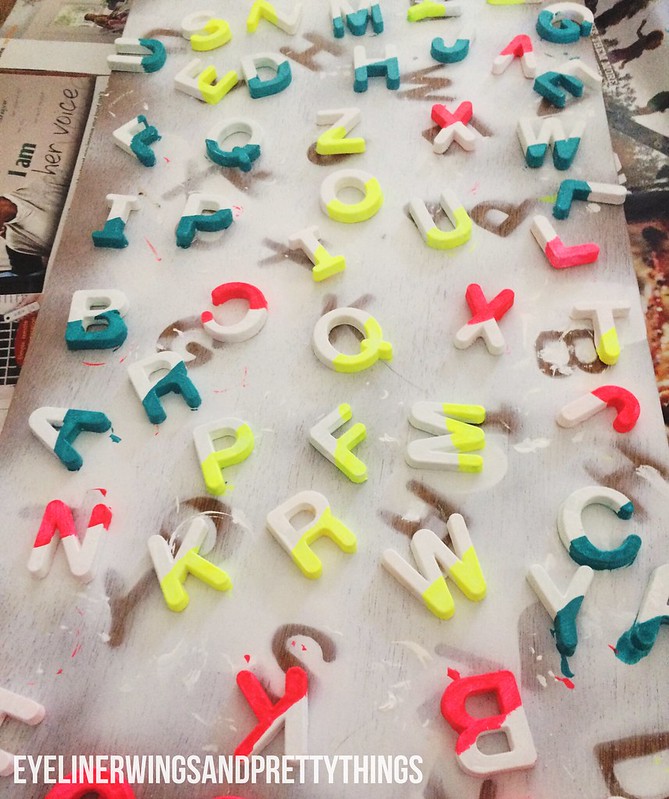
2. Paint the ends of your magnets neon.
I didn’t actually dip them, even though I definitely wanted to. It wasn’t smart because I would’ve had to dump a ton of paint into a cup or bowl and then somehow find a way to let these dripping magnets dry without getting stuck to anything or making a huge mess. I simply got my color of choice on a brush and did a diagonal line across the bottom of the letter and then filled it in. I tried to make the doubles of each letter different colors (like one yellow A and one blue A or one pink B and one blue B). LET THEM DRY. If you don’t, the color will smudge and bleed when you glaze them.
3. Seal them.
If you do not glaze your magnet somehow, the color will easily scratch off. Using a spray-on sealer is probably easiest but I did not have any. I decided to use plain ‘ol clear top coat nail polish and it worked pretty well. My magnets got a nice shine and don’t scratch easily. Shout out to mom for helping me throughout and painting the top coat on my magnets.
You’re Done!
They are much more neon in person, I swear! These will definitely brighten up the townhouse kitchen and I might end up using them on the mini fridge in my dorm room instead. In the future I probably should’ve bought another set because I would have been able to spell out more messages with extra letters. This should do, though.
Let me know if you make your own set of DIY alphabet magnets!