So you took the perfect selfie using The Ultimate Selfie Guide Part 1: Taking The Perfect Selfie and now you’re ready to edit it, right? Here’s how to add all of the bells and whistles without going overboard!
Here is part two of three of my in-depth series that I’d like to call “The Ultimate Guide To Selfies: How To Take The Perfect Selfie.” Here’s how to edit that perfect selfie (or any Instagram photo in general)
1. The Apps.
For the editing, we are not using Instagram’s pre-set filters. While they do have a lot of nice ones, there are much better ones and the majority of which are free. Here are my top two favorite photo editing apps:
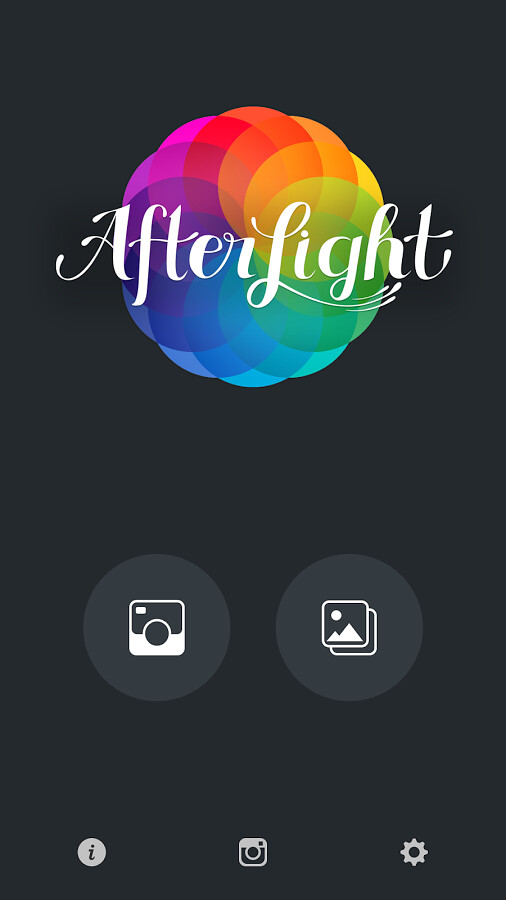
1. Afterlight – $0.99 – This app is great because you can adjust the brightness, contrast, etc. of your photo and also add white borders to your photos so they fit perfectly into Instagram. I know, I know–it’s not a free app, but I promise it’s worth the one dollar that it costs. Invest in your photos!
2. VSCO Cam – Free – This is the app I use first and foremost for every single photo. It’s perfect for adding fade, saturation, brightness, contrast and even filters. The best part of this app is that you can adjust how much of a filter you wish to apply to your photo.
2. The Actions: Do’s & Don’ts.
Of course, each person must develop their own taste and style when it comes to how they like their selfies, but this is my personal suggestion and preference.
DO tastefully use black and white.
Black and white can definitely help class up a picture. Know when to use and when not to—if you want to show off an awesome lipstick color, your eyes or your colorful eye shadow, it might not be smart. If you’re rocking a simple look and a classic cat eye, black and white will make you Audrey Hepburn-esque.
DO adjust brightness and contrast.
This is the first thing I do to every photo! I usually slightly adjust brightness and contrast until I’m happy with the result. Most pictures could use some brightness and a little bit more contrast. Be careful with contrast, however, too much could make your picture look funky if you use too much of it.
DON’T overload with filters.
Lately I’ve tried to avoid filters because they tend to make your photo fuzzier and overly edited, but if used in moderation they can look great, but too many can get obnoxious. Most photo editing apps have a big amount of filters, but try to avoid using them because they often lower the quality of your final product.
DON’T use soft glow.
This “perfect skin” sort of tool doesn’t give you perfect skin—it makes you look suspiciously glowy and it makes it obvious that your skin was edited. If you want smoother skin in your photo try brightening the photo slightly.
DO crop your photo.
Crop out the random person in the background or the stain on your shirt. Crop out what’s not needed but don’t crop too much—you don’t want it to be a super close up of your face. If the photo becomes too tiny I recommend adding the white border using Squareready or the borders in Afterlight for a smooth look.
So, there’s your quick dose in photo editing apps and how to use them! You’re on your way to the ~ultimate selfie~. Stay tuned for Part 3: Posting the Selfie.